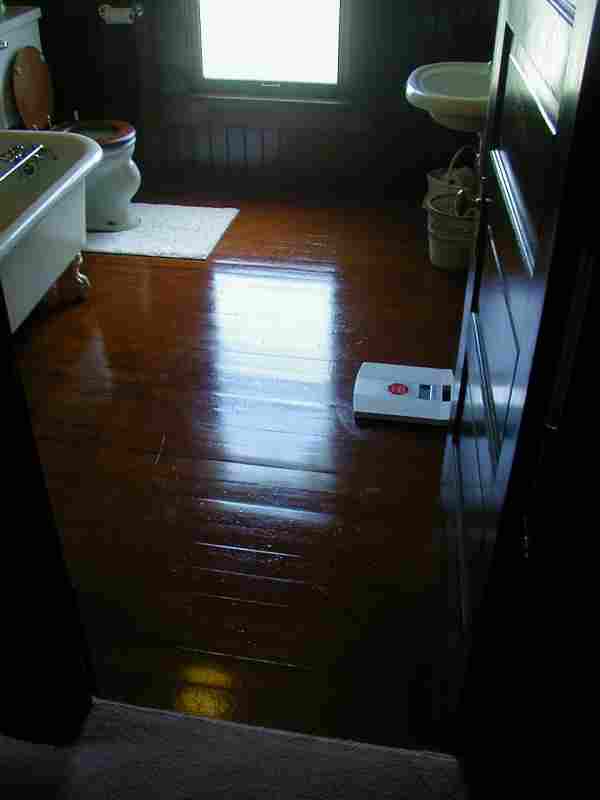
Photo Number 1: This is bathroom before any work was begun. The ceiling was painted white, and the floors and wainscoting was covered with polyurethane that was yellowing and cracking.
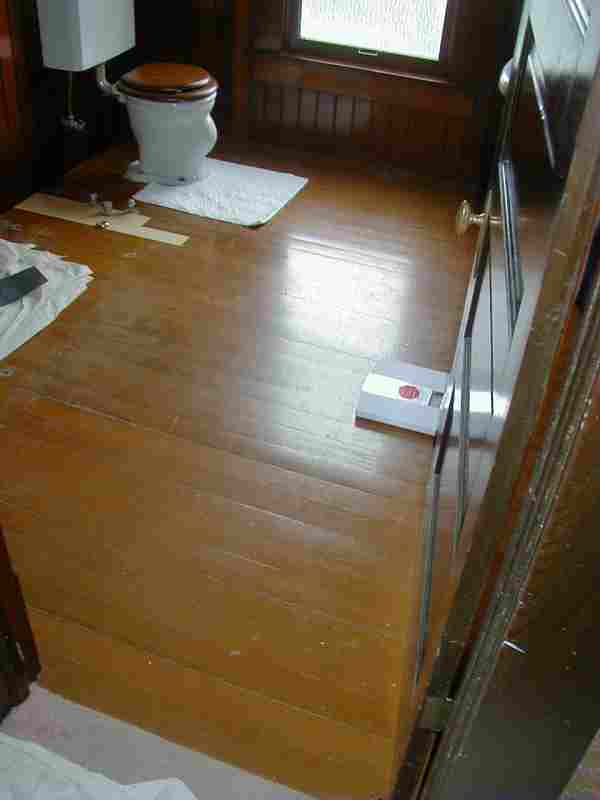
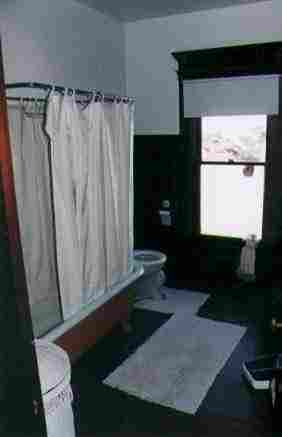
Photo Number 2: The floor was in poor condition. Notice the water stains in front of where the tub sat. The tub has been removed at this point in the restoration.
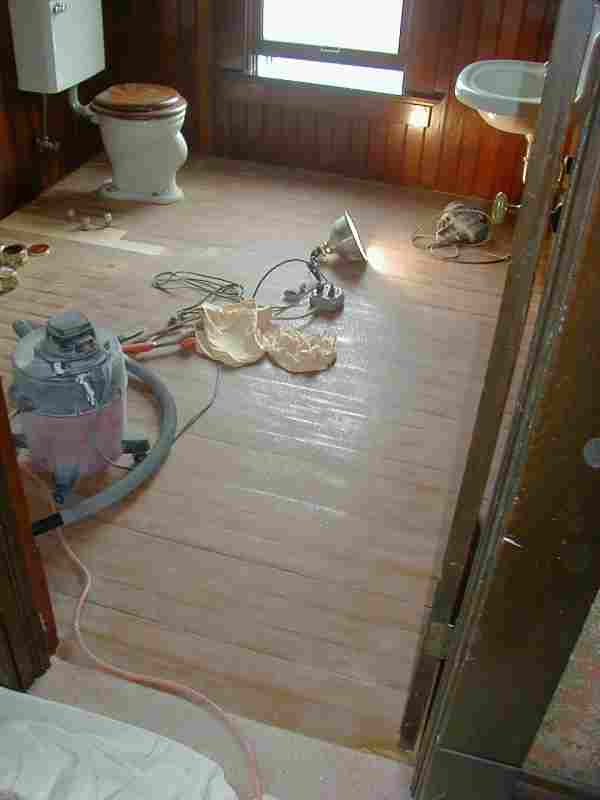
Photo Number 3: The stripping of the old finish has begun. Regretfully it was necessary to replace some boards next to the head of the tub (Done by Wise Flooring). In restoration every effort is made to preserve old materials.
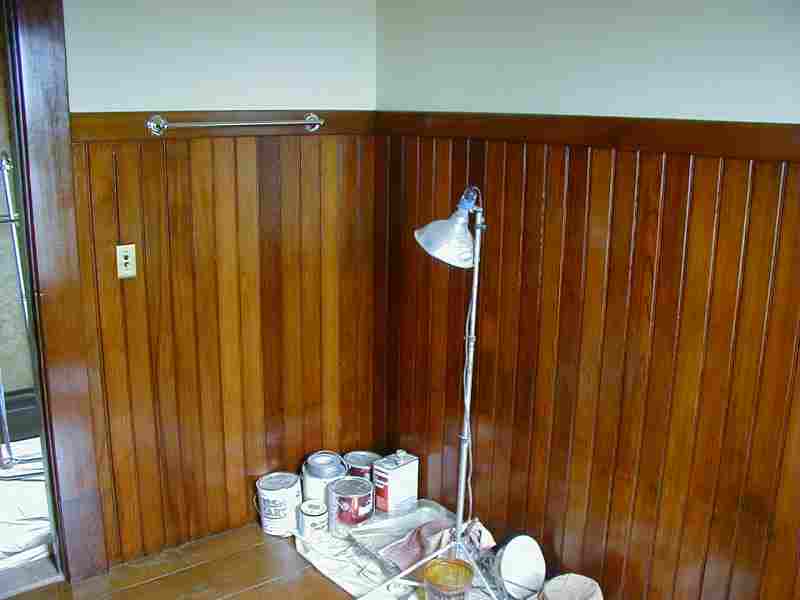
Photo Number 4: The wall behind the tub has received its first couple of coats of shellac. Notice the original beauty of the redwood wainscoting is now showing through. The ceiling and upper walls have been retextured are are ready for painting.
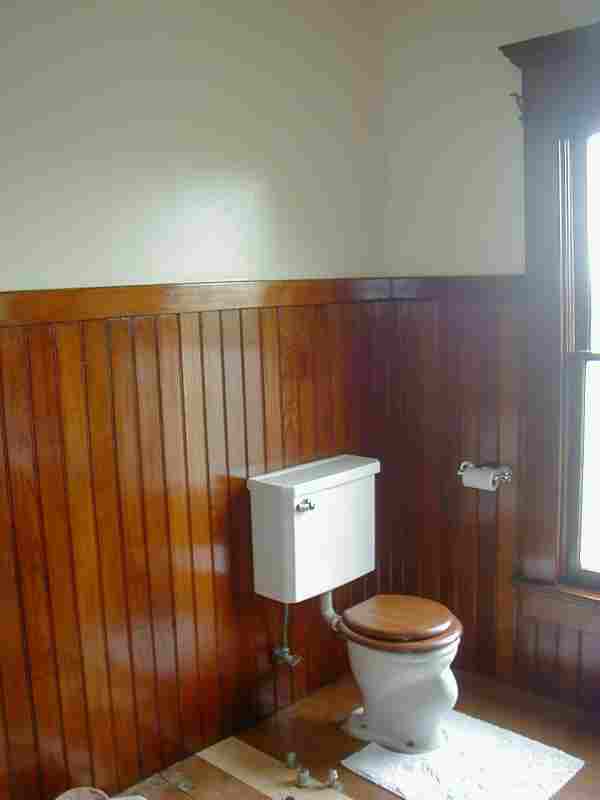
Photo Number 5: Another view of he newly finished wainscoting. Notice again the beautiful sheen of the shellac. This was the original wall treatment and is far superior to modern finishes.
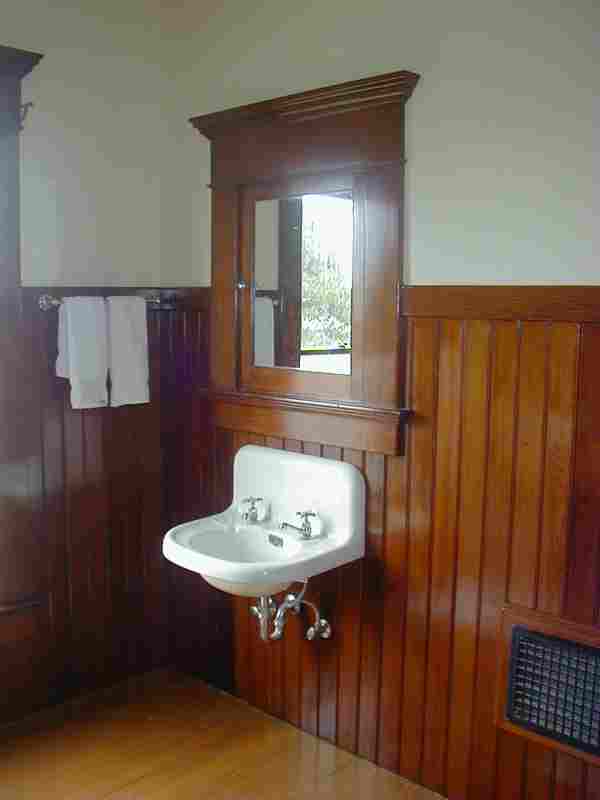
Photo Number 6: The wall across from the tub is every bit as beautiful. The floor has now been refinished. There will still be one more coat of shellac.
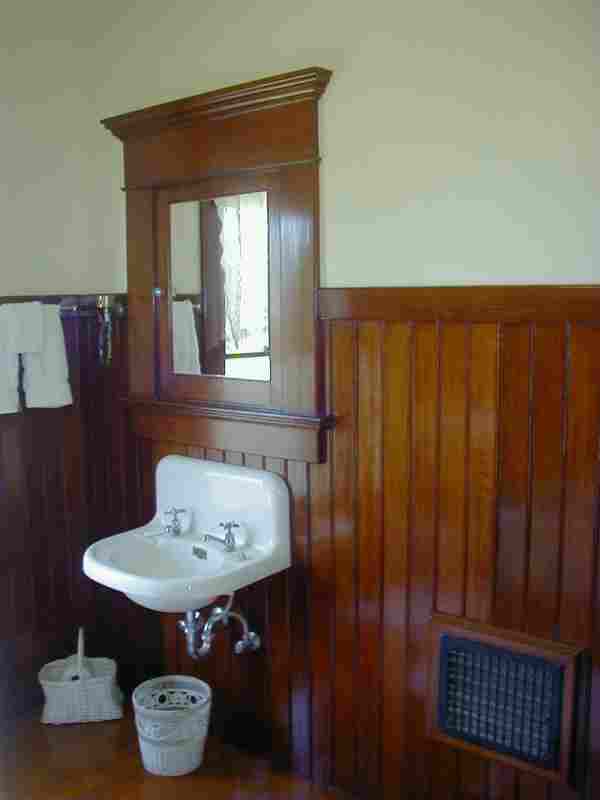
Photo Number 7: This looks similar to Photo number 7 but this is the finished product nearly a year later.. The wood literally appears to glow. We were very happy with the result, and it still looks as good as new.
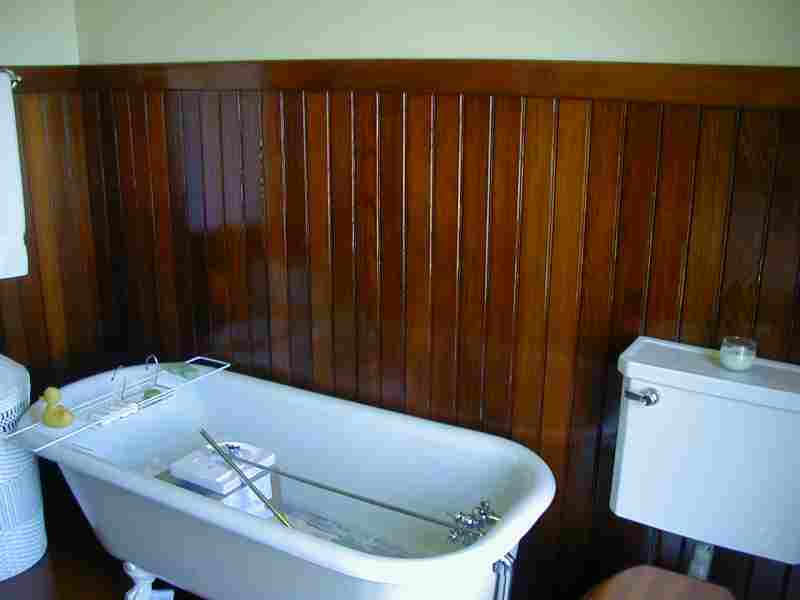
Photo Number 8. The wall behind the tub. There is now a new shower ring and curtain in place but it still looks just like this. Why someone would use anything other than shellac is something we don't understand.